

I want to make the corset belt from leather. The outside that is. By its very nature, leather is strong but a bit stretchy so for a corset, a sturdy support layer is needed. I will use the same strong but fairly thin twin which I used for my lingerie corset. It's the details I'm considering now. Most specifically the placement of the boning.
The corset belt pattern comes with three different suggestions for bone placement, each building on the other. It doesn't come with specific instructions on how to apply the boning (that information is probably on Scarlett's site, I have to confess I didn't check) but I know about three different options.

Most patterns, especially the easy ones, tell you to sew boning channels to the wrong side of the corset. You can buy these ready-made or just sew on tape of an appropriate width. It isn't difficult and it will give you a corset with a smooth outside. The downside is that, especially if you wear the corset tight, the bones may dig into your skin.
Another option is to apply boning channels to the outside of the corset. All the pretty RTW corsets with contrasting boning channels are made that way. Of course, that means you will have to stitch them very carefully and pick a material which will look good. The bones won't dig into your skin but they will stick out from the surface of the corset. That is fine if you are wearing it as outerwear but not so great when the corset is supposed to function as an undergarment.
The third possibility is a bit different. For this one, you need the inside and outside of the corset to be separate layers. You sew them together at the center front and center back first and then create boning channels by stitching the two layers together. It requires very careful matching of the seams of both layers but it will provide you with a beautifully smooth corset.
In a lot of corset patterns, all or many of the bones are placed at the seams. In method one and two, the boning channels are placed on top of flat-felled seams. With method three, they are place next to the seams. Of course, it is possible to sew the boning channels in different positions but all the stitching lines go through the corset so you have to consider but look and strength.
I thought about using boning channels on the outside first but now I tend towards the third option.
And there is something else to consider: Waist tape is a good way to keep the corset panels from stretching with wear. However, you can only really apply that when using the first method...
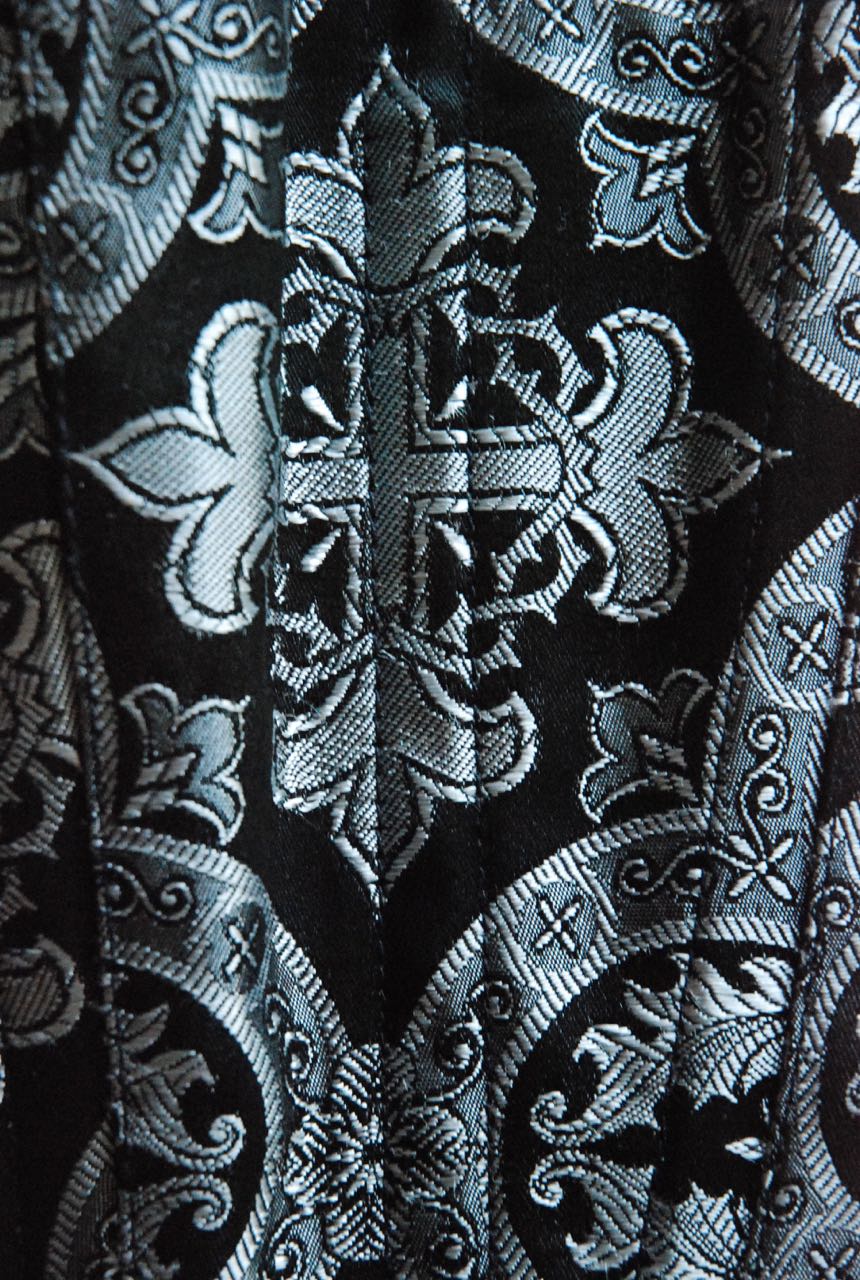
The corsets in the pictures are both RTW. For the black-and-silver one, method three was used, for the black one method one. The corsets are very different in style and shape so they don't allow for a direct comparison between techniques.
I'm going to cut out the pieces now. It's time to make a corset.
You can actually apply waist tape on all 3 methods. Its not only golding the corset from stretching out but also holds the boning from curving out.
ReplyDeleteYou can actually apply waist tape on all 3 methods. Its not only golding the corset from stretching out but also holds the boning from curving out.
ReplyDeleteI usually make my corsets from 2 separate layers and use boning channel tape, that I sew to the lining layer and then sandwich it inside the corset. This gives me a really neat corset outside and I've never had any problems with boning digging into my skin - and I tend to lace rather tight :)
ReplyDeleteThanks for detailing these methods, it should come in very handy when I get around to making a corset for myself. It's on my list of things to make, one day! :)
ReplyDelete